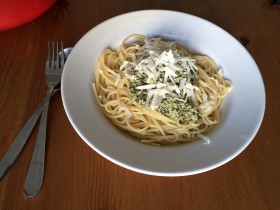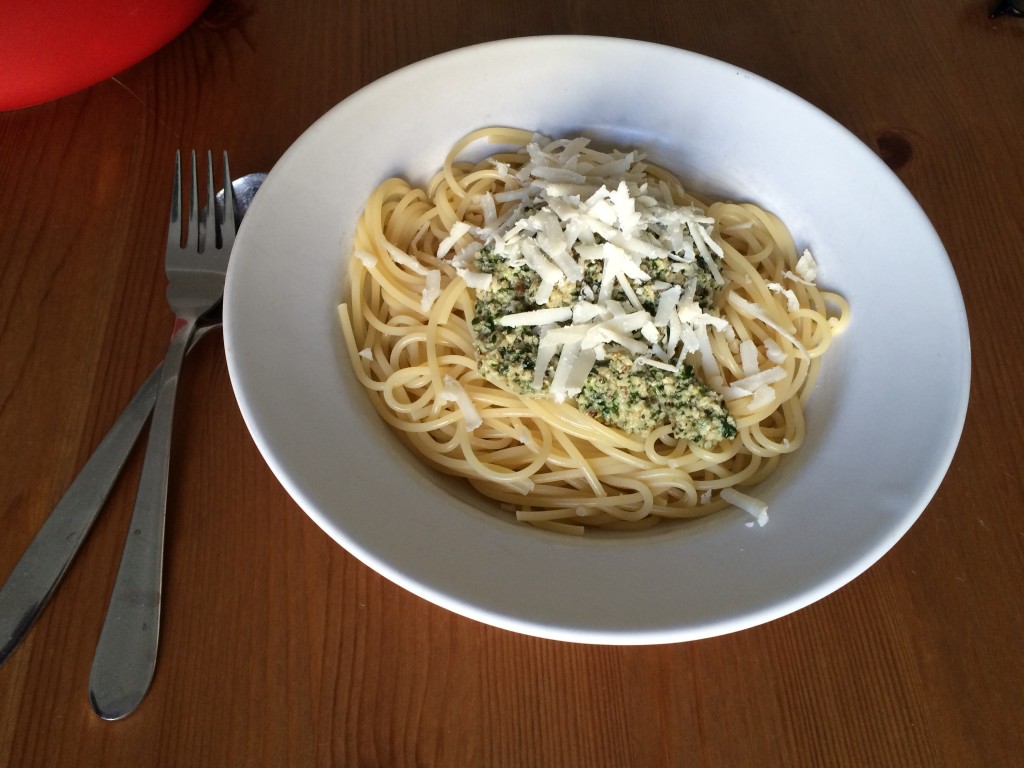
Wild garlic and walnut pesto

It’s been a long time, since I posted the last time. I am sorry, somehow I could never find the time. But there are plenty of recipes I wanted to share with you. So today there’s a wild garlic and walnut pesto.

I guess the season for wild garlic is already over (typically me …), or maybe not? You can still try it next year :-)

This recipe comes together in a few minutes, and still tastes very good. Perfect for me.

Ingredients

  • 1 bunch wild garlic
  • 80g walnuts
  • 4 Tbsp Parmesan (optional)
  • olive oil
  • salt & pepper


Start with chopping the walnuts coarsely and toast them in a pan without any grease, stirring to prevent them from burning. As soon as the walnuts start to smell nicely toasted, take them off the heat and set aside to cool.

Wash the wild garlic and pat the leaves dry, as dry as possible. Place the wild garlic and the walnuts in a food processor and blitz a few times until you have a coarse mixture. Add olive oil, and blitz adain, pouring the oil as you go until you have your desired texture. I prefer my pesto quite runny, so maybe I use more oil, than others would. Now season with pepper ans salt, add the parmesan and blitz a few times again.

Pour the pesto in a clean jar and smooth the top. I poured a thin layer of olive oil on top, hoping this would keep the pesto longer fresh.
this pesto tastes very nice in the classical way with pasta and topped with parmesan. But you can also mix it into your salad dressing or pour it over roasted vegetables.


Pasta mit Bärlauch-Walnuss-Pesto

vanilla icing sugar

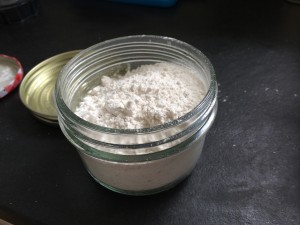
VanillepuderzuckerLast weekend I made a very tasty redcurrant-cheesecake from this website vegan-und-lecker.de, and I needed the seeds from one vanilla pod. I was always very unhappy with throwing away the scraped out pod, so I usually keep it to cook it whenever there is milk and something sweet involved, with the milk.
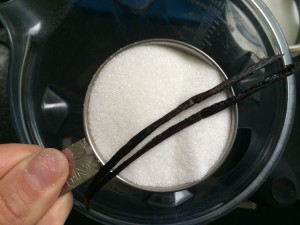
Sometime ago I thought of making my own vanilla sugar. I put the vanilla pod with some sugar in a blender and out came vanilla flavoured icing sugar. Nice!
Easy and versatile, as I like it. But to call this a recipe is mere exaggeration …

ingredients vanilla icing sugar

  •  1 scraped out vanilla pod Vanilleschote
  • 1 cup sugar (ideally light cane sugar)

IMG_7744Simply put the sugar with the pod in a blender an bland it until the vanilla pod ist almost completely dissolved. I like to have a few small crumbs left in the powdered sugar.
You will need to shake the blender a few times, so everything can mix well.

I would love to try it out with less sugar, but it doesn’t work in my blender, so I guess I will have to add a second vanilla pod sometime.

Great whenever vanilla sugar is asked for or on waffles and everything sweet you want to add a subtle vanilla flavour.

Globe artichoke with two dip sauces

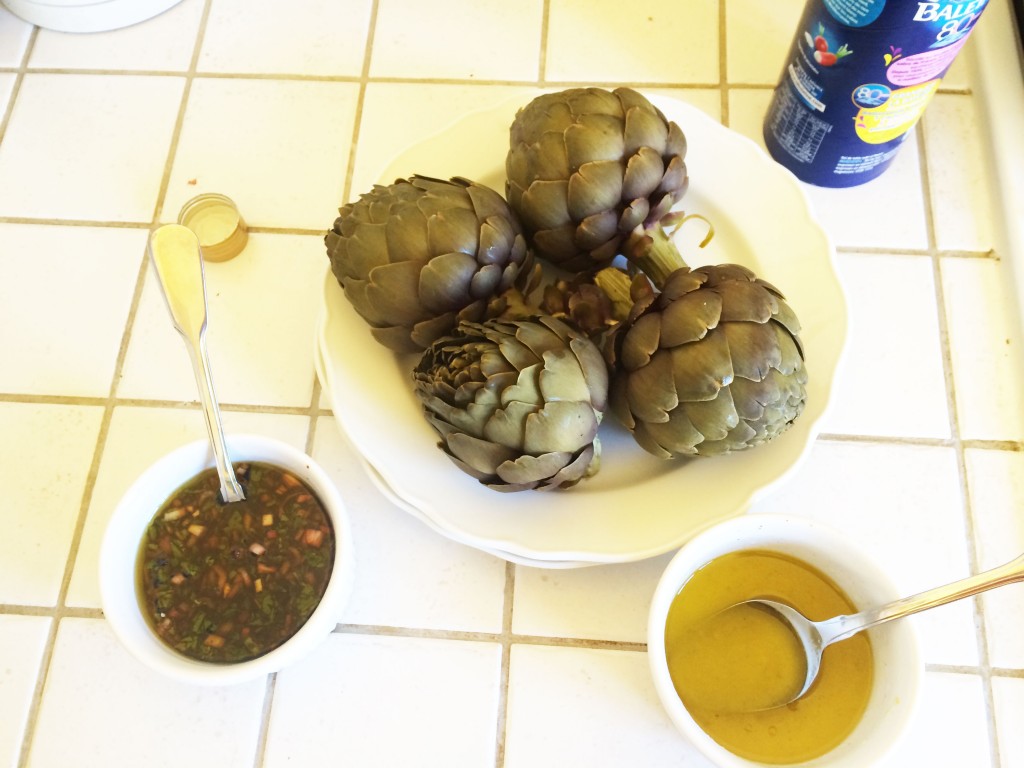
globe artichokeMy parents grow globe artichokes in their garden, and this year I am here at the right time, to catch some of these.
I usually prepare them in a very classic manner, only with vinaigrette. My boyfriend prefers his with a simple lemon and olive oil dip. So I give you both recipes.
I was a little bit shocked to see how many vine louse (Blattlaus) lived in the artichokes, would have never guessed that. And while I thought I did a good job washing them all away, while eating the artichokes, I saw, that I didn’t :-)
Well, they were still delicious.

So this is how I eat globe artichokes:

ingredients globe artichokes

  • 1 big Globe artichoke per person (or 2 smaller ones)
  • 2 Tbsp (red wine) vinegar
  • salt

artischocken im kochtopfMy mother taught me to cook the artichokes in salted water with a lithe vinegar. I have forgotten, or maybe never asked, why, but I follow this rule, and I guess it changes the flavor, so that’s how I like them. Do you happen to know, why there should be vinegar in the cooking water? Please share.

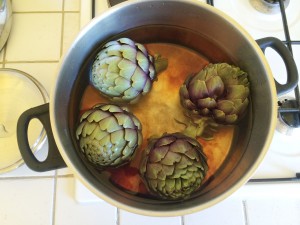
So I put the washed artichokes, stems trimmed to 2 cm, in a big pot and cover them with cold water. Add salt and vinegar and turn up the heat. As soon as the water is boiling, turn down the heat and ket simmer for at least 45 min. Depending on the size of your artichokes it will be more likely an hour or so until done.
Turn them after 20 min and check if there its still enough cooking liquid, if not, top with boiling water.
After 40 min you can check the first time, if the artichokes are ready. Tear one leaf from row 3, don’t take the outer leaves, because they are tougher and this will lead to overcooked artichokes. If the leaf comes off easily, the artichokes are ready. If not, go on cooking them, and check every 15 min.
Don’t be disappointed, if you don’t get the perfect cooked artichoke the first time. I over and undercooked mine a lot of times, and still so …
If you think, they are done, scoop them out of the cooking liquid (attention, very hot, don’t use your hands, like I tend to do …), but reserve the liquid, because, if they happen to be too hard, you can easily put them back and go on cooking.
Put them on a plate and transfer tot he table.

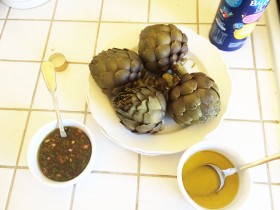
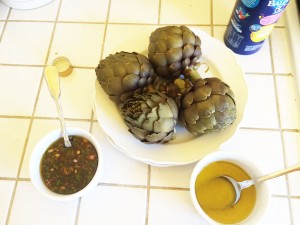
And here are the two different sauces I prepare:

ingredients vinaigrette

  • 6–8 Tbsp olive oil
  • 4 Tbsp balsamico
  • 1–2 Tbsp red wine vinegar
  • 1 small shallot, finely chopped
  • 1 Tbsp parsley, finely chopped
  • pepper & salt

Top the minced shallot with a pinch of salt and the vinegar and let marinate for a few minutes. If you only have balsamic, you can leave out the wine vinegar. In that case, my mixture is 1:1 with the olive oil. I like my vinaigrette to be quite sour.
Mix in the parsley and olive oil, season to taste worth a generous amount of pepper and salt.

ingredients lemon olive oil dip

  • 4 Tbsp freshly squeezed lemon juice
  • 4 Tbsp olive oil
  • pepper & salt

This dip is very simple. Just mix olive oil and lemon juice and season to taste.

And now all you have to do is, to dip leaf after leaf into your desired sauce, scoop a bit out and scrape the flesh off with your teeth.

globe artichoke


Orange marmelade

Do you like orange marmelade? Well, maybe, if you are english :-)
When I was a child, we spent a couple of summer holidays in ireland. Great (!!) country and very nice people.
We usually stayed at bed & breakfasts and for breakfast you get the „irish breakfast“.
I would say, it’s the same as english breakfast, but since I was in ireland before I spent time in england, irish breakfast it is for me …
With the cornflakes, orange juice, eggs, bacon, sausage and black & white pudding also came toast and orange marmelade. I hated the toast, because it was already really cold and therefore quite dried up, when it reached the table. Mostly they used a little rag to cool the toast, so it won’t get soggy, I guess, but it helped cooling the toast even more. Aargh. So there was cold, dry toast and marmelade. Great. Not really, what an eight year old would hope for. But I loved the sausage and fried egg, so I got over it.

Eventually I found out, that marmelade tastes very good on freshly baked, still warm scones with plenty of salted butter, and since then, I am always happy, to eat marmelade.
I do cook a lot of jams, because I have loads of different berries in my garden, but I never tried to make marmelade myself.
I started looking for recipes some time ago, and found out, that you should use bitter oranges or seville oranges. Well, that is a problem, because they are nowhere to be found here. If you have an idea, please let me know.
Finally I bought myself a little bitter orange tree, and surprisingly it grew a couple of oranges at once.
Today is the day, that I harvested them and now let’s make some marmelade!
This recipe is adapted from Nigella Lawsons book „How to eat“.

ingredients

  • 1 kg oranges, bitter or seville oranges preferred
  • 500 g preserving sugar 2:1
  • 3 Tbsp lemon juice
  • Wasser

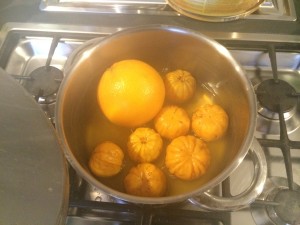
Orangen für MarmeladeMy little tree only produed 550 g of oranges, so I topped it up with one gigantig organic orange.
Wash the oranges thoroughly and put them in a big pot with enough water to let them float.
Cook the oranges for 2 hours, I turned them from time to time, because I had the feeling, that they don’t do that themselves.
After two hours turn off the heat and remove the oranges from the water. As soon as they are cool enough to handle them, slice the oranges in half and remove the pips. Put the pips in a small pot wit a litte bit of the cooking water and let cook for 5 minutes.
Finely cut the orange peel into the smalles stripes possible or any other way as you like.
Put the fruit pulp, the peel and about 10 tablespoons of the cooking water in a pot. Add the water you cooked the pips in, but without the pips. Also add the preserving sugar and mix everything very well with a wooden spoon.
Put on the stovetop and bring carefully to a boil. Let simmer for about 5 minutes, stirring constantly so nothing burns.
After 5 minutes the marmelade should be fine.
Fill in clean jars, close the lid and turn upside down for at least 10 minutes.


quince and plum chutney

Today I go on with my quince special.
This time I offer you something spicy, a chutney.
To be honest, I was never a chutney person. Actually I didn’t know, how to combine it, so some chutneys, I recieved as presents, still wait quite dusty in my cupboard. I am sorry.
But after cooking my first chutney, I had to taste it, so I tried it with basmati rice and some joghurt. That is the only way I enjoy my chutney until today, so if you have ideas, what to do with it, I’d be pleased to know!!

Ingredients

  • about 1 kg quince fruit
  • 500 g fresh plums
  • 150 g soft brown sugar
  • 180 ml apple cider vinegar ot white wine vinegar
  • 2 tbsp neutral oil
  • 1 shallot
  • 1–3 fresh chillies, depending, on how spicy you like it
  • salt & pepper

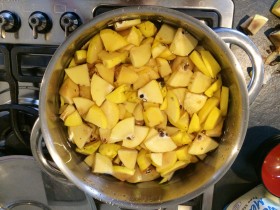
Peel and core your quince fruits and chop into 1 cm chunks. Halve and pit the plums.
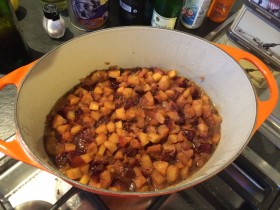
In a non-reactive pot heat the oil and gently fry the shallot until soft. Add the quince, cover and let cook on low heat for a couple of minutes. Now add all the other ingredients and let simmer for 20 minutes. Season with salt and pepper.
Fill in clean glasses up to the rim, close and turn bottom up for at least 20 min.

That’s it.
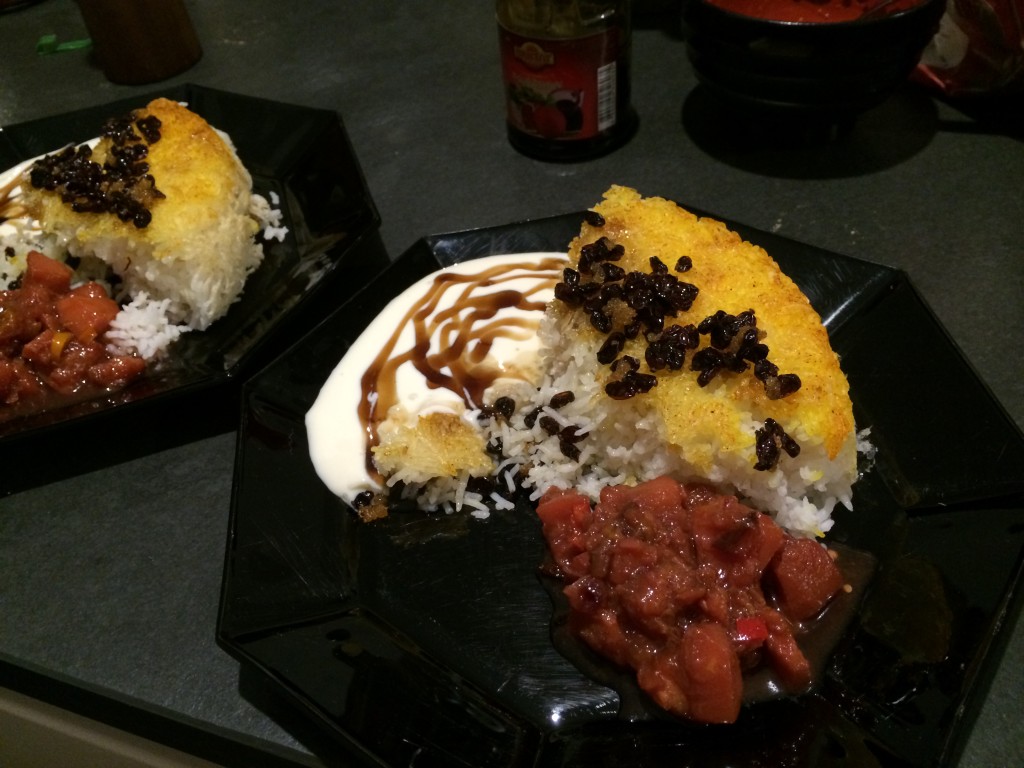
And here is a photo (I know it is horrible) of my dinner with persian saffron rice, chutney and soy-joghurt. But it was very tasty.

Abendessen

quince cheese (Dulce de membrillo), basic recipe no 2

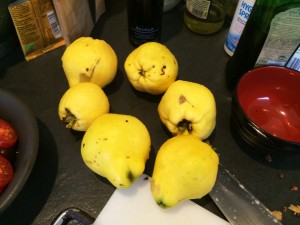
Quitten_01Here we are for part 2 of the quince basic recipes. Assuming you have already cooked your quince fruit and want to use them for the quince cheese, we start directly. If you have raw uncooked quince fruit, please read the post about the quince jelly and use the fruit pieces you do not need for this recipe.

Ingredients

  • cooked quince pieces
  • sugar

First you have to strain (pass?) the quince pieces, to get a fine pulp. I use my Kitchen Aid with the strainer attachment, but you use, whatever you have. A stainless steel strainer should do the job. And you will have a nice arm workout while passing the quince through the strainer.
Now weigh the pulp and mix thoroughly with the same amount of sugar. Put everything in a non-reactive pot on the stove and heat up. Do this quite cautious, because of the great amount of sugar the pulp will burn quite fast.
Let simmer for about an hour, stirring as often as possible. But be careful, because the mass will act like lava and bubble and  burns like hell, when you get hit.
You know, that the quince cheese has cooked enough, when it has thickend and starts to come off the walls of your pot. This may take more than one hour.
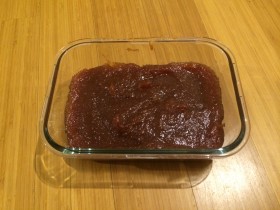
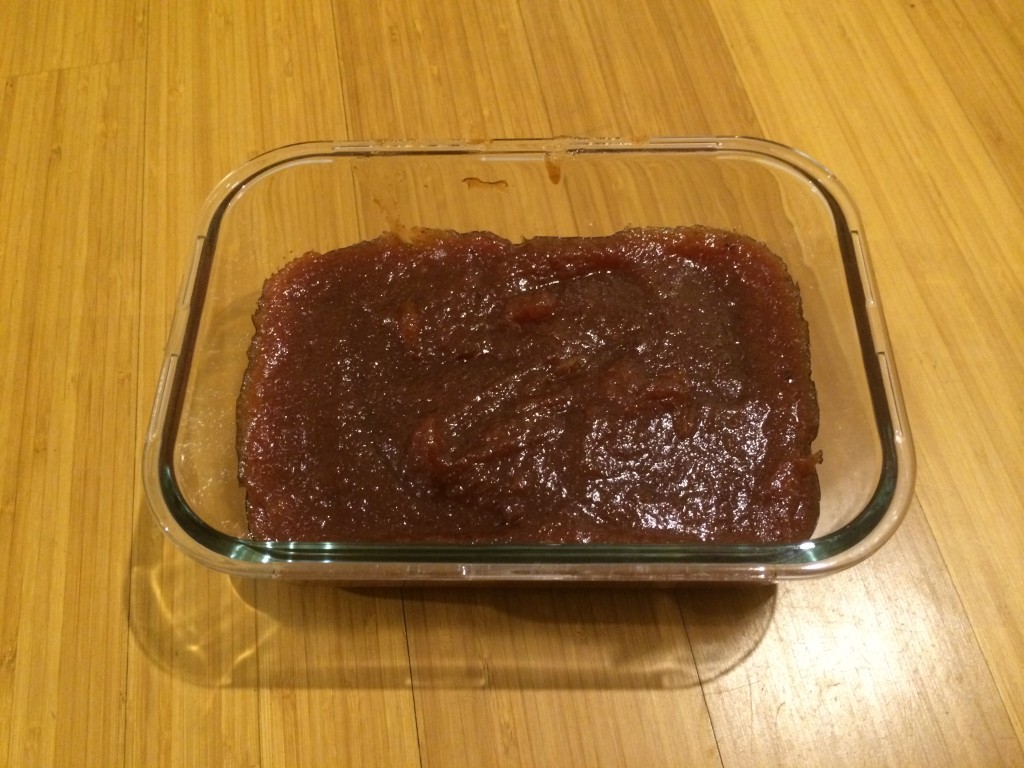
Prepare a heat proof container, like a glass baking dish, that you won’t need for some time. Pour the hot quince paste in the container and spread out evenly. Let cool, and cover with baking paper or sandwich paper and store ideally somewhere nice and warm, like close to your heating or in your boiler room. I guess you can also store it in a dry cupboard. Leave it there for about one week or maybe longer. The time the quince cheese needs to set depends on the amount of time you cooked it, as well as on how thick it is in the container.
To check, if it’s ready, you can pull a little bit on the edges, if it comes off the walls easy and has a completely firm jelly-like texture, it is ready to eat. Don’t be irritated if it hasn’t set after a week. I usually let it stand for 3 weeks, because it keeps forever. In my fridge is still some quince cheese from last year, tasting perfectly well.

Enjoy with cheese, like jam on bread or use it in your pastries.

quittenbrot


Quince Jelly (with raspberries), basic recipe no 1

Quitten_01

I love quince, they smell great, they look very nice, and they are one of the rare things you can only get, when they are in season.
This is why I am going to have a quince-special here on my blog!

One of the first things I did, when I got my garden, was to plant a quince tree. So my quince fruits are in season now, and I am having a hard time to use them fast enough, before they go off.
This is one minor problem wih quince, you always have to cook them, you can’t eat them raw.

First thing I do when the quince fruits are ripe, I cook quince jelly and with the remaining fruit pulp, I make quince cheese (dulce de membrillo). This is a natural pairing, because for the jelly you only need the juice and I could never bear it to throw away the complete fruit pieces, so I use them for the quince cheese.

Ingredients

  • 5–6 quince fruits
  • raspberries (optional)
  • water
  • jam sugar 2:1 (gelling sugar)
  • lemon juice or citric acid

The exact amounts of water, sugar and the rest depend on the quantity of juice you get after cooking the quince, so I cannot give you more details in the ingredients list.
First you have to rub the fuzz off hte quince, I usually do this over the sink, simply by using my hands. But you can also use a kitchen towel. Then wash them thoroughly.
Now comes the heavx part: cut the quince fruits in about 2–2,5 cm pieces. Use the biggest, sharpest knife you can find in your kitchen, but please be careful with your fingers. The quince fruits are very hard, and you may need to use a lot of weight on the knife to cut then. Do not remove any pits or the skin. They help with the gelling process later.
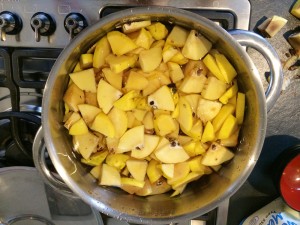
Quitten_02Put everythin in a big, non-reactive pot (stainless steel or enamel), cover with water and bring to a boil.
As soon as everything starts to boil, I reduce the heat to minimum and let them simmer for about 20 min. This should be enough to soften the quince and release their juices to the water.

To cook jelly, you usually need cold juice, so just leave the pot with everything on the stove to cool down and proceed the following day or whenever it is cool enough.

To start with the jelly strain the quince pieces through a fine mesh colander, but keep the juice, because this is, what we need first. Put the quince pieces in a plastic container in the fridge and leave it there until you got enough time to cook the quince cheese. Or maybe you already have other plans for them? They will keep for about one week.
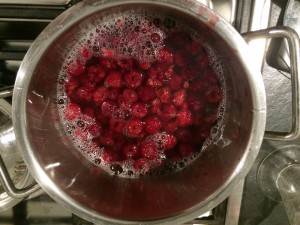
Quitten_03Measure your cold quince juice and put it in a non-reactive pot. If you want to use raspberries as well, weigh them and put them in the pot as well. For jelly you have to use a bit more than 50% of the weight of your juice, usually it is 700 ml juice and 500g jam sugar 2:1. Also add the amount you need for your raspberries.
If you have a lemon at hand or some citric acid, you can add it too. I think, this is not necessary to taste better, but it keeps the colour fresh :-)

Mix very well with a wooden spoon and bring to a boil. As soon as it boils reduce to a simmer and let cook for a minimum of 4 minutes.

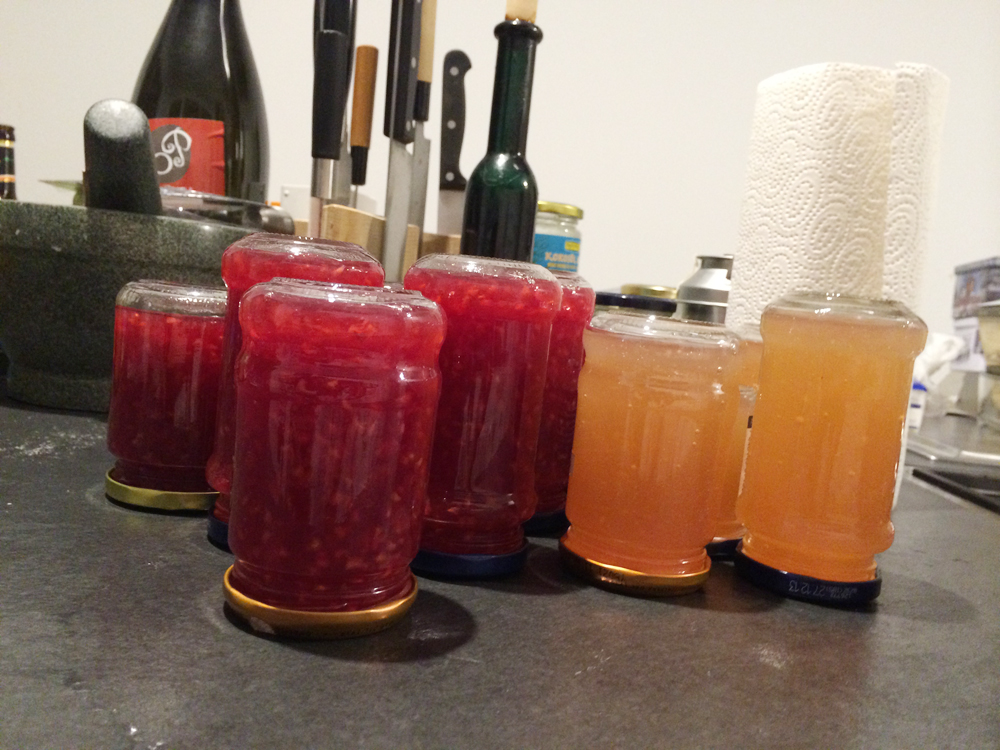
Prepare your glasses and fill with the jelly as soon as it is ready. Fill the glasses up to the rim, but make sure to keep the rim clean. Close the glasses and turn them bottom up,  allow to stand for at least 10 minutes.
Quitten_04

Semi-dried tomatoes

I really love dried tomatoes!
And whenever I get the chance to make them myself, I am thrilled.
This year I had plenty of cherry tomatoes and an even smaller variety called „Gelbe Johannisbeere“ (translates as yellow currant). They are really the size of red currants, only in bright yellow, and they taste like tomatoes.

When making dried tomatoes, I find it quite difficult to catch the right moment, before the tomatoes are too dried out.
So this time I made only semi-dried tomatoes. Which means, they are already more intensive in the flavor and sweeter, but you still have to keep them in the fridge.

This is what I did:

Ingredients

  • 500 g cherry tomatoes or other small varieties (or enough to fit on your baking tray)
  • 2 Tbsp olive oil
  • 3-4 sprigs of thyme, leaves picked
  • pepper & fleur de sel or malodon salt cristals

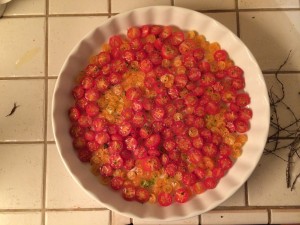
TomatenFirst preheat your oven to 100°C.
Then wash and pat your tomatoes and the thyme dry.
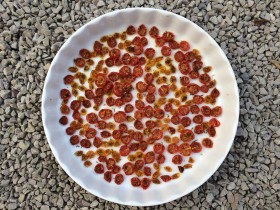
Cut the tomatoes in half and put them on a baking tray, cut side up.
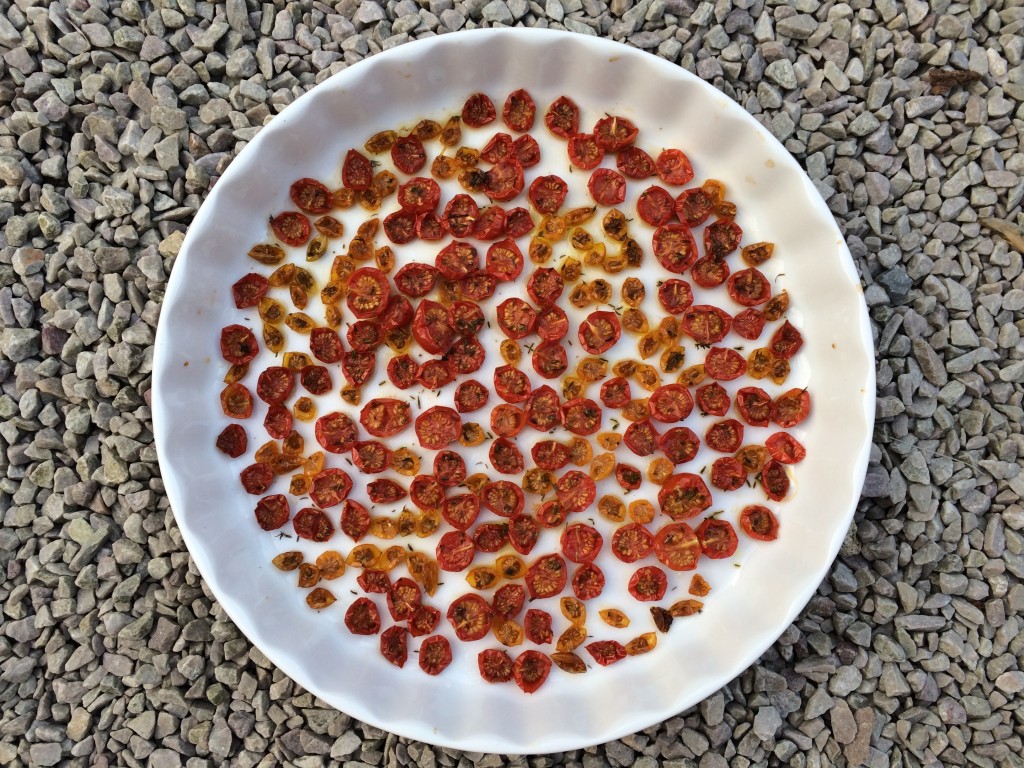
As you can see on my photograph, I used a tarte pan, because I didn’t have enough tomatoes to cover a big baking tray.
Now sprinkle with the thyme leaves, pepper and salt and drizzle the oil over the tomatoes.

Put the tray in the oven and let cook for at least 3 hours.
I usually turn off the heat after three hours and let the tomatoes sit in the oven until the next morning.
If you think they need some more time, just turn on the oven again, or after the three hours, let them cook longer.

They should be nicely dried on the cut side but still moist in the center.

semi-dried tomatoes

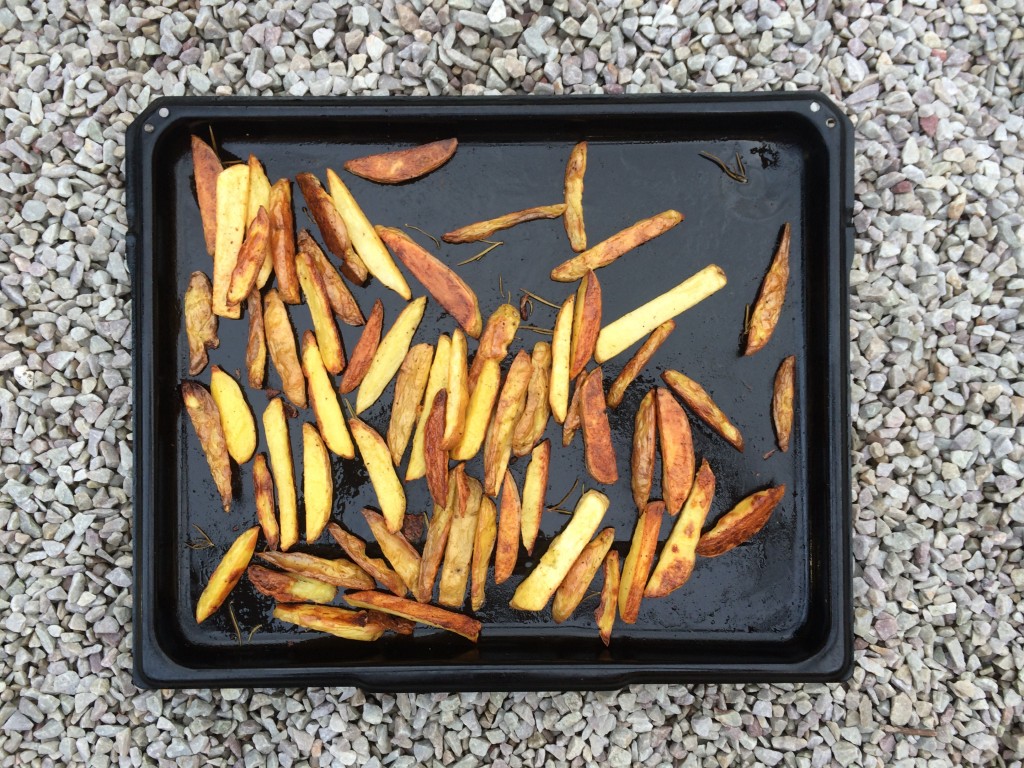
rosmarin oven fries

First I thought there is no need to add this recipe here, because everybody knows these potatoes anyway. But while reading a cookbook, I realised, there are also so many recipes in there, I thought everyone knew. So I decided to post my rosmarin oven fries today.

This is my version of the classic rosmarin oven potatoes.
They changed into fries, while cooking them a couple of times with friends (thanks, Patty) and are now crispier and faster cooked through.

Ingredients

  • 6–7 big potatoes, if you use medium potatoes use some more
  • a 15cm sprig rosmarin, leaves picked
  • olive oil
  • salt & pepper

Rosmarin KartoffelnPreheat the oven to 190–200°C.
Thoroughly wash the potatoes and cut away all the dark spots.
Depending on the size of your potato, cut it in 1 cm thick slices and again in 1 cm thick sticks.
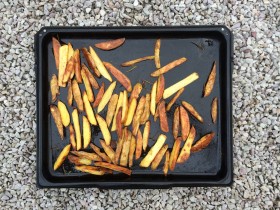
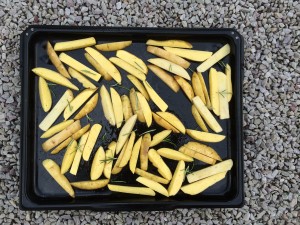
Now all you have to do is, place them on a baking sheet, season generously with salt and pepper, add the rosmarin, drizzle with the olive oil and mix very well with your hands. Make sure that all potato chips are coated with the seasoned oil. Now put the baking sheet in the oven and let cook for about 20 min. Using a spatula turn over everything, and cook again for at least 10 min, maybe you need to toss the chips once again. I like them quite dark and crispy, that takes about 40 min.

Rosmarin Backofen Pommes